Are you looking for a reliable way to manage IT tasks remotely using a Raspberry Pi? With the right setup, a Raspberry Pi can become a powerful tool for remote IT management, offering flexibility, affordability, and efficiency. This article will guide you through the process of downloading, setting up, and managing a Raspberry Pi for remote IT operations. Whether you're an IT professional, a tech enthusiast, or someone managing a small business, this guide will help you harness the full potential of this compact device.
Remote IT management is becoming increasingly important in today's digital age. From monitoring servers to automating tasks, a Raspberry Pi can serve as a versatile solution for various IT needs. In this article, we’ll explore how to download the necessary software, configure your Raspberry Pi for remote access, and ensure it operates securely and efficiently. By the end of this guide, you'll have a fully functional remote IT system powered by a Raspberry Pi.
Before we dive into the technical details, it’s important to understand why the Raspberry Pi is an excellent choice for remote IT tasks. This small, single-board computer is energy-efficient, cost-effective, and highly customizable. With its ability to run Linux-based operating systems, the Raspberry Pi can handle a wide range of IT functions, from acting as a file server to managing IoT devices. Let’s get started with the step-by-step process to set up your Raspberry Pi for remote IT operations.
Read also:Simon Cowells Son A Glimpse Into The Life Of Eric Cowell
Table of Contents
Introduction to Raspberry Pi
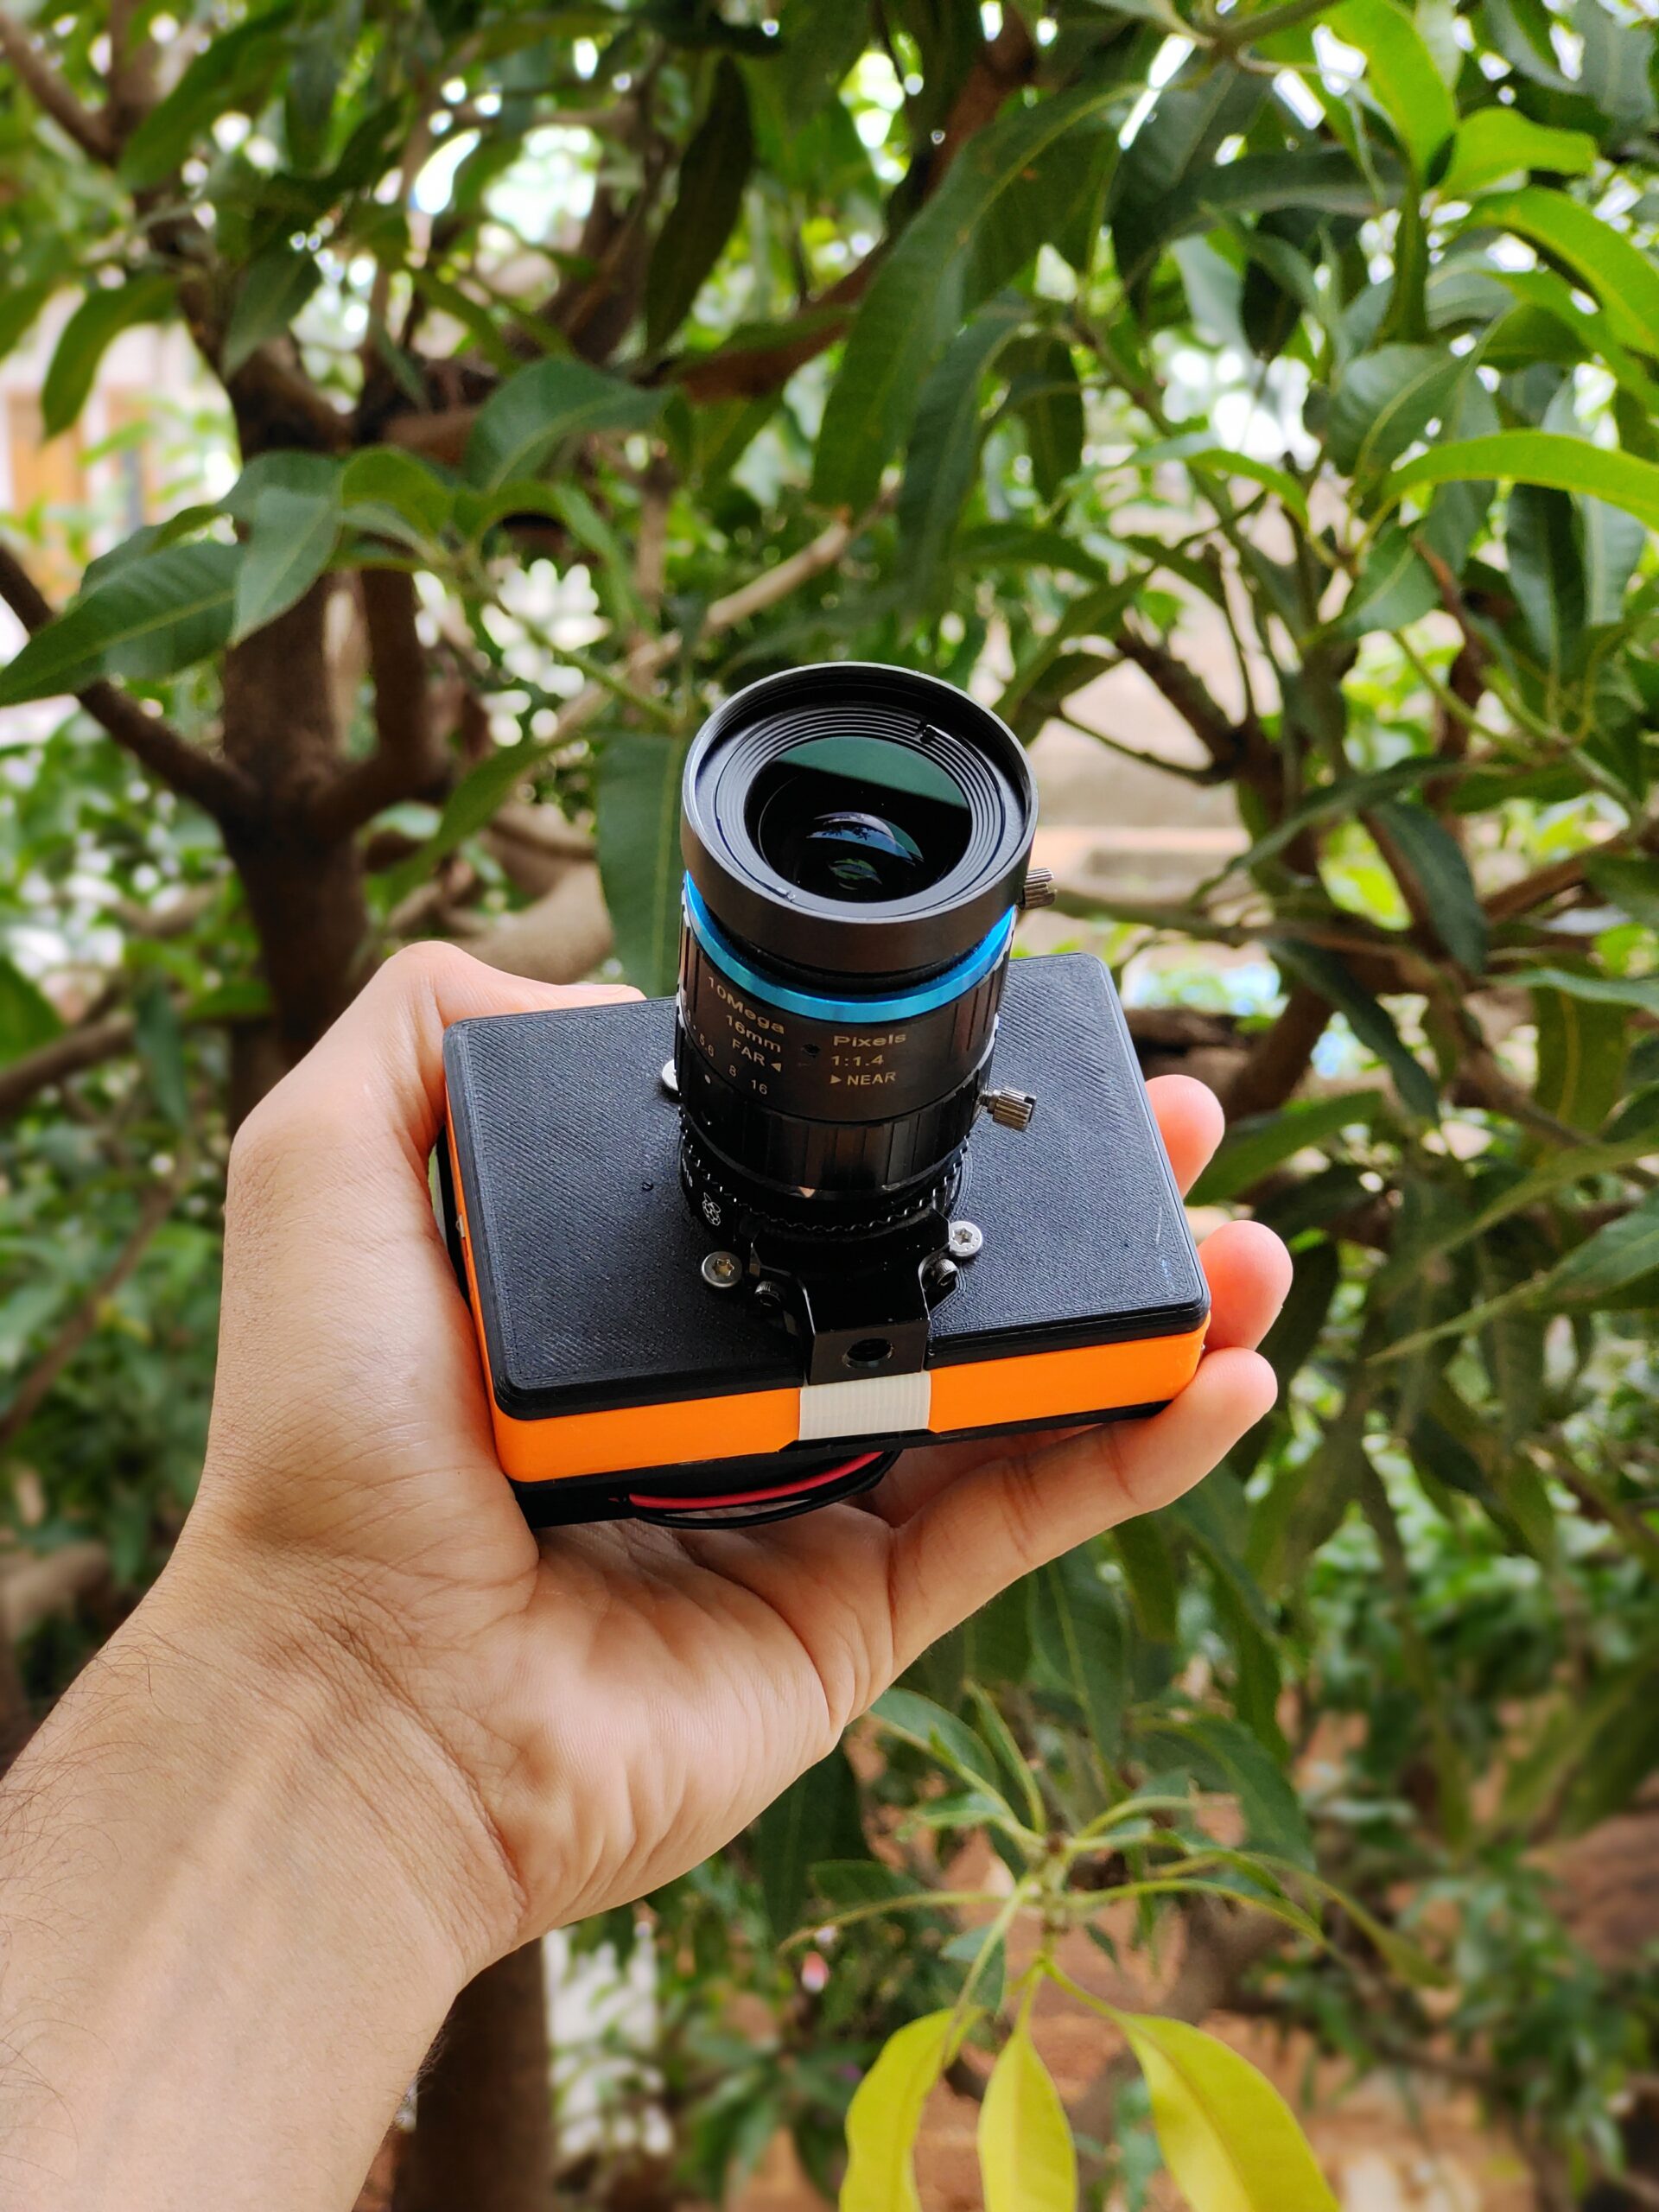
The Raspberry Pi is a single-board computer developed by the Raspberry Pi Foundation. It was originally designed to promote computer science education but has since evolved into a versatile tool for a wide range of applications, including remote IT management. Its compact size, low power consumption, and affordability make it an ideal choice for tech enthusiasts and professionals alike.
One of the key features of the Raspberry Pi is its ability to run Linux-based operating systems. This opens up a world of possibilities for customization and automation. Whether you're setting up a home server, managing IoT devices, or automating repetitive IT tasks, the Raspberry Pi can handle it all.
Before you begin the setup process, it’s important to ensure you have the necessary hardware and software. At a minimum, you’ll need a Raspberry Pi board, a microSD card, a power supply, and an internet connection. Additionally, having a keyboard, mouse, and monitor can simplify the initial setup process.
Downloading the Raspberry Pi OS
To get started with your Raspberry Pi, you’ll need to download the official operating system, known as Raspberry Pi OS (formerly Raspbian). This OS is optimized for the Raspberry Pi hardware and comes preloaded with useful tools and applications.
Step-by-Step Guide to Downloading Raspberry Pi OS
- Visit the Official Website: Head to the Raspberry Pi Software Downloads page.
- Choose the Right Version: Select the version of Raspberry Pi OS that suits your needs. The "Raspberry Pi OS with desktop" is ideal for beginners, while the "Lite" version is better for headless setups.
- Download the Image: Click the download button and save the image file to your computer.
Once the download is complete, you’ll need to flash the image onto a microSD card. Tools like Balena Etcher can simplify this process. Simply select the downloaded image file, choose your microSD card, and flash the OS.
Setting Up the Raspberry Pi
After downloading and flashing the Raspberry Pi OS, it’s time to set up your device. This involves connecting the hardware, booting the system, and completing the initial configuration.
Read also:Subhashree Leaked Mms Video
Connecting the Hardware
- Insert the microSD card into the Raspberry Pi.
- Connect a keyboard, mouse, and monitor if needed.
- Plug in the power supply to boot the device.
Initial Configuration
Upon booting, you’ll be greeted by the Raspberry Pi setup wizard. Follow the on-screen instructions to configure your language, time zone, and Wi-Fi settings. It’s also recommended to enable SSH (Secure Shell) for remote access during this step.
Configuring Remote Access
Remote access is one of the most valuable features of a Raspberry Pi. By enabling SSH and VNC (Virtual Network Computing), you can control your Raspberry Pi from any device with an internet connection.
Enabling SSH
- Open the terminal and type
sudo raspi-config. - Navigate to "Interfacing Options" and enable SSH.
- Restart the Raspberry Pi to apply the changes.
Setting Up VNC
VNC allows you to access the graphical desktop of your Raspberry Pi remotely. Install the VNC server using the command sudo apt install realvnc-vnc-server and enable it through the Raspberry Pi configuration tool.
Essential Software for Remote IT
To maximize the functionality of your Raspberry Pi for remote IT tasks, you’ll need to install some essential software. These tools can help you manage servers, automate tasks, and monitor devices.
- Webmin: A web-based interface for system administration.
- Portainer: A tool for managing Docker containers.
- Nagios: A monitoring system for IT infrastructure.
Securing Your Raspberry Pi
Security is a critical aspect of remote IT management. A poorly secured Raspberry Pi can become a target for cyberattacks. Follow these best practices to protect your device:
- Change the default password.
- Disable unused services.
- Use a firewall to restrict access.
- Regularly update the OS and software.
Advanced Features and Customizations
Once your Raspberry Pi is set up and secure, you can explore advanced features and customizations. For example, you can use it as a media server, a home automation hub, or a network-attached storage (NAS) device.
Setting Up a Media Server
Install Plex or Kodi to turn your Raspberry Pi into a media server. This allows you to stream movies, music, and photos to any device on your network.
Home Automation with Home Assistant
Home Assistant is an open-source platform for home automation. With a Raspberry Pi, you can control smart devices, create custom automations, and monitor energy usage.
Troubleshooting Common Issues
Even with careful setup, you may encounter issues with your Raspberry Pi. Here are some common problems and their solutions:
- No Internet Connection: Check your Wi-Fi settings and ensure the router is functioning properly.
- Slow Performance: Close unnecessary applications and ensure your microSD card is not corrupted.
- SSH Connection Refused: Verify that SSH is enabled and your firewall allows the connection.
Real-World Use Cases
Here are some real-world examples of how a Raspberry Pi can be used for remote IT tasks:
- Managing a small business network.
- Monitoring IoT devices in a smart home.
- Automating backups and system updates.
Conclusion and Next Steps
In this article, we’ve explored how to download, set up, and manage a Raspberry Pi for remote IT operations. From downloading the Raspberry Pi OS to configuring remote access and securing your device, you now have the tools to create a powerful and efficient remote IT system.
Take the next step by experimenting with advanced features and customizations. Share your experience in the comments below or explore more articles on our site to further enhance your Raspberry Pi skills. Happy tinkering!