Are you looking to access your Raspberry Pi remotely via SSH from the internet? This guide will walk you through the process step by step. Whether you're a hobbyist, developer, or IT professional, learning how to securely connect to your Raspberry Pi over the internet can open up a world of possibilities. From managing your projects to troubleshooting issues, SSH (Secure Shell) is a powerful tool that allows you to control your Raspberry Pi from anywhere in the world. In this article, we will explore everything you need to know about setting up and using SSH for Raspberry Pi over the internet.
Remote access to your Raspberry Pi is not just convenient but also essential for many applications. Imagine being able to control your smart home devices, monitor sensors, or run scripts on your Pi without being physically present. However, enabling SSH from the internet comes with its own set of challenges, including security risks. That’s why it’s crucial to follow best practices to ensure your connection is both functional and secure. This article will guide you through the process while keeping security in mind.
In the sections below, we will cover everything from the basics of SSH to advanced configurations for internet access. By the end of this article, you will have a clear understanding of how to set up SSH on your Raspberry Pi and connect to it securely from anywhere in the world. Let’s dive in!
Read also:Instacash Repayment A Comprehensive Guide To Managing Your Loan Responsibly
Table of Contents
- What is SSH and Why Use It?
- Prerequisites for Setting Up SSH on Raspberry Pi
- How to Enable SSH on Raspberry Pi
- Setting Up Port Forwarding on Your Router
- Using Dynamic DNS for Remote Access
- Securing Your Connection with SSH Keys
- Configuring a Firewall for Enhanced Security
- Troubleshooting Common Issues
- Advanced Tips for Raspberry Pi SSH
- Conclusion and Next Steps
What is SSH and Why Use It?
SSH, or Secure Shell, is a cryptographic network protocol used for secure communication between two devices over an unsecured network. It provides a secure way to access a remote computer, execute commands, and transfer files. For Raspberry Pi users, SSH is particularly useful because it allows you to control your device remotely without needing physical access.
Using SSH, you can perform tasks such as:
- Running commands and scripts on your Raspberry Pi.
- Managing files and directories remotely.
- Monitoring system performance and logs.
- Configuring network settings and services.
One of the key advantages of SSH is its security. Unlike older protocols like Telnet, SSH encrypts all data transmitted between the client and server, making it much harder for attackers to intercept sensitive information. This is especially important when accessing your Raspberry Pi over the internet, where the risk of unauthorized access is higher.
Prerequisites for Setting Up SSH on Raspberry Pi
Before you begin setting up SSH for internet access, there are a few prerequisites you need to fulfill:
- Raspberry Pi Device: You need a Raspberry Pi with a working operating system, such as Raspberry Pi OS.
- Internet Connection: Ensure your Raspberry Pi is connected to the internet via Wi-Fi or Ethernet.
- Router Access: You will need access to your router’s admin panel to configure port forwarding.
- Static IP Address: Assign a static IP address to your Raspberry Pi to ensure its address doesn’t change.
- SSH Client: Install an SSH client on your computer, such as PuTTY (Windows) or Terminal (macOS/Linux).
Assigning a Static IP Address
To assign a static IP address to your Raspberry Pi, follow these steps:
- Open the terminal on your Raspberry Pi.
- Edit the
dhcpcd.conffile using the command:sudo nano /etc/dhcpcd.conf. - Add the following lines at the bottom of the file:
interface eth0 static ip_address=192.168.1.100/24 static routers=192.168.1.1 static domain_name_servers=8.8.8.8
- Save the file and reboot your Raspberry Pi.
How to Enable SSH on Raspberry Pi
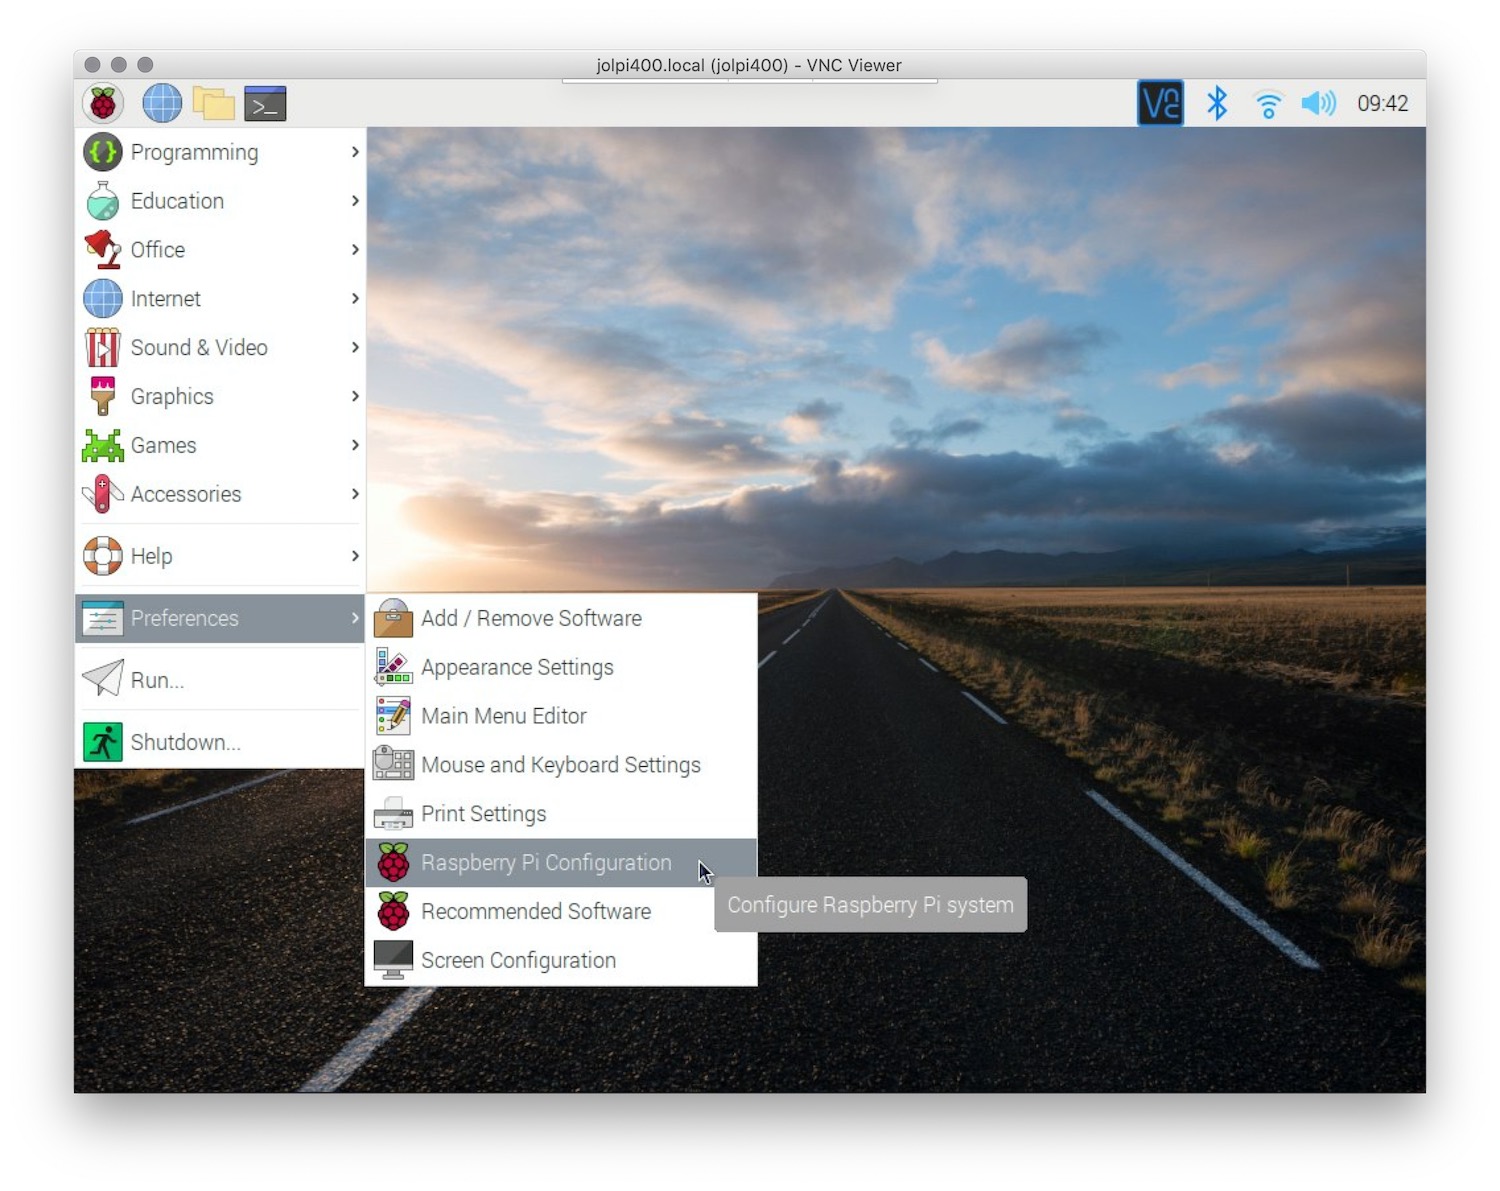
By default, SSH is disabled on Raspberry Pi for security reasons. To enable it, follow these steps:
Read also:O Yeong Su Dead
- Connect your Raspberry Pi to a monitor and keyboard, or use a serial connection.
- Open the terminal and run the command:
sudo raspi-config. - Navigate to Interfacing Options and select SSH.
- Choose Yes to enable SSH.
- Reboot your Raspberry Pi for the changes to take effect.
Testing the SSH Connection
Once SSH is enabled, you can test the connection from another device on the same network:
- Open your SSH client.
- Enter the Raspberry Pi’s IP address and the default username (
pi) and password (raspberry). - If the connection is successful, you should see the Raspberry Pi’s terminal prompt.
Setting Up Port Forwarding on Your Router
To access your Raspberry Pi from the internet, you need to configure port forwarding on your router. This process directs incoming traffic on a specific port to your Raspberry Pi’s IP address.
- Log in to your router’s admin panel using its IP address (e.g.,
192.168.1.1). - Navigate to the Port Forwarding section.
- Create a new rule with the following details:
- Service Name: SSH
- External Port: 22 (or another port of your choice)
- Internal IP Address: Your Raspberry Pi’s static IP
- Internal Port: 22
- Protocol: TCP
- Save the changes and restart your router if necessary.
Security Considerations
Using the default SSH port (22) can make your Raspberry Pi a target for brute-force attacks. To enhance security, consider changing the port to a non-standard number (e.g., 2222). Update the port forwarding rule and SSH client configuration accordingly.
Using Dynamic DNS for Remote Access
If your internet service provider assigns a dynamic IP address, you’ll need a Dynamic DNS (DDNS) service to maintain a consistent hostname for your Raspberry Pi. Popular DDNS providers include No-IP, DuckDNS, and Dynu.
- Sign up for a DDNS service and create a hostname (e.g.,
myraspberrypi.ddns.net). - Install the DDNS client on your Raspberry Pi or configure it on your router.
- Update your SSH client to use the DDNS hostname instead of the IP address.
Benefits of DDNS
- Eliminates the need to remember your public IP address.
- Automatically updates the hostname when your IP address changes.
- Works seamlessly with most routers and devices.
Securing Your Connection with SSH Keys
Using SSH keys instead of passwords adds an extra layer of security to your connection. SSH keys are cryptographic keys that authenticate your identity without requiring a password.
- Generate an SSH key pair on your computer using the command:
ssh-keygen -t rsa -b 4096. - Copy the public key to your Raspberry Pi:
ssh-copy-id pi@your_pi_ip. - Disable password authentication on the Raspberry Pi by editing the SSH configuration file:
sudo nano /etc/ssh/sshd_config
Change the following lines:PasswordAuthentication no ChallengeResponseAuthentication no
- Restart the SSH service:
sudo systemctl restart ssh.
Advantages of SSH Keys
- Eliminates the risk of brute-force attacks.
- Streamlines the login process with key-based authentication.
- Enhances overall security for remote access.
Configuring a Firewall for Enhanced Security
A firewall is essential for protecting your Raspberry Pi from unauthorized access. You can use ufw (Uncomplicated Firewall) to manage firewall rules on your Raspberry Pi.
- Install
ufw:sudo apt install ufw. - Allow SSH traffic:
sudo ufw allow 22/tcp. - Enable the firewall:
sudo ufw enable.
Additional Firewall Rules
To further secure your Raspberry Pi, consider blocking unnecessary ports and limiting access to specific IP addresses:
- Block all incoming traffic by default:
sudo ufw default deny incoming. - Allow outgoing traffic:
sudo ufw default allow outgoing. - Restrict SSH access to your IP:
sudo ufw allow from your_ip to any port 22.
Troubleshooting Common Issues
While setting up SSH for internet access, you may encounter some common issues. Here’s how to resolve them:
Connection Refused
If you receive a “Connection Refused” error, check the following:
- Ensure SSH is enabled on your Raspberry Pi.
- Verify that the correct port is open on your router.
- Check your Raspberry Pi’s firewall settings.
Timeout Error
A timeout error usually indicates a network issue. Try these steps:
- Confirm that your Raspberry Pi is connected to the internet.
- Check your router’s port forwarding configuration.
- Ensure your DDNS service is working correctly.
Advanced Tips for Raspberry Pi SSH
For advanced users, here are some additional tips to enhance your SSH experience:
- Use a Reverse SSH Tunnel: This allows you to access your Raspberry Pi even if it’s behind a restrictive firewall.
- Set Up Fail2Ban: This tool monitors login attempts and blocks suspicious IPs.
- Automate Tasks with Cron Jobs: Schedule scripts to run automatically via SSH.
Reverse SSH Tunnel Setup
To set up a reverse SSH tunnel:
- Install an SSH server on a remote machine with a public IP.
- Create a tunnel from your Raspberry Pi:
ssh -R 2222:localhost:22 user@remote_server. - Connect to the remote server and access your Raspberry Pi via the tunnel.
Conclusion and Next Steps
In this article, we’ve explored how to set up and use SSH to access your Raspberry Pi from the internet. From enabling SSH and configuring port forwarding to securing your connection with SSH keys and firewalls, we’ve covered all the essential steps to ensure a safe and reliable remote connection.
Now that you have a working SSH setup, consider