Are you looking to enhance your IoT projects with a Raspberry Pi and remote SSH access? You've come to the right place. In today's digital age, leveraging the power of a remote IoT platform with SSH capabilities can revolutionize the way you manage and control your devices. Whether you're a hobbyist, developer, or professional, understanding how to download and set up SSH on a Raspberry Pi is crucial for seamless IoT operations. This article will guide you step-by-step through the process, ensuring you have all the knowledge you need to succeed. We'll cover everything from the basics of SSH to advanced configurations, making sure you're equipped to handle any IoT project.
The Raspberry Pi has become one of the most popular single-board computers, thanks to its versatility, affordability, and powerful features. It’s widely used in IoT applications, ranging from home automation to industrial monitoring systems. However, to fully unlock its potential, remote access is essential. SSH (Secure Shell) provides a secure way to remotely manage your Raspberry Pi, enabling you to execute commands, transfer files, and monitor your IoT platform from anywhere in the world.
In this article, we will explore how to download, install, and configure SSH on your Raspberry Pi for remote IoT platform management. We’ll also delve into best practices, troubleshooting tips, and advanced features to ensure your setup is secure, efficient, and scalable. By the end of this guide, you’ll have a complete understanding of how to leverage SSH for your IoT projects, empowering you to take full control of your devices.
Read also:What Is The Salt Trick For Male Enhancement Discover The Truth Behind The Trend
Table of Contents
Introduction to SSH
SSH, or Secure Shell, is a cryptographic network protocol used for secure communication over an unsecured network. It provides a secure channel for executing commands, transferring files, and managing remote systems. SSH is widely used in IoT applications because of its ability to encrypt data, ensuring that sensitive information remains protected during transmission.
SSH operates on a client-server model, where the client (your computer) connects to the server (Raspberry Pi) to perform tasks. The protocol uses public-key cryptography for authentication, making it highly secure compared to other remote access methods. SSH is particularly useful for IoT platforms because it allows users to manage devices remotely without compromising security.
Why Use SSH for Remote IoT Platforms?
Using SSH for remote IoT platforms offers numerous advantages, including:
- Security: SSH encrypts all data transmitted between the client and server, protecting sensitive information from unauthorized access.
- Flexibility: SSH allows you to execute commands, transfer files, and manage configurations remotely, making it ideal for IoT projects.
- Automation: With SSH, you can automate tasks such as backups, updates, and monitoring, saving time and effort.
- Scalability: SSH supports multiple users and devices, making it suitable for large-scale IoT deployments.
Setting Up Your Raspberry Pi for SSH
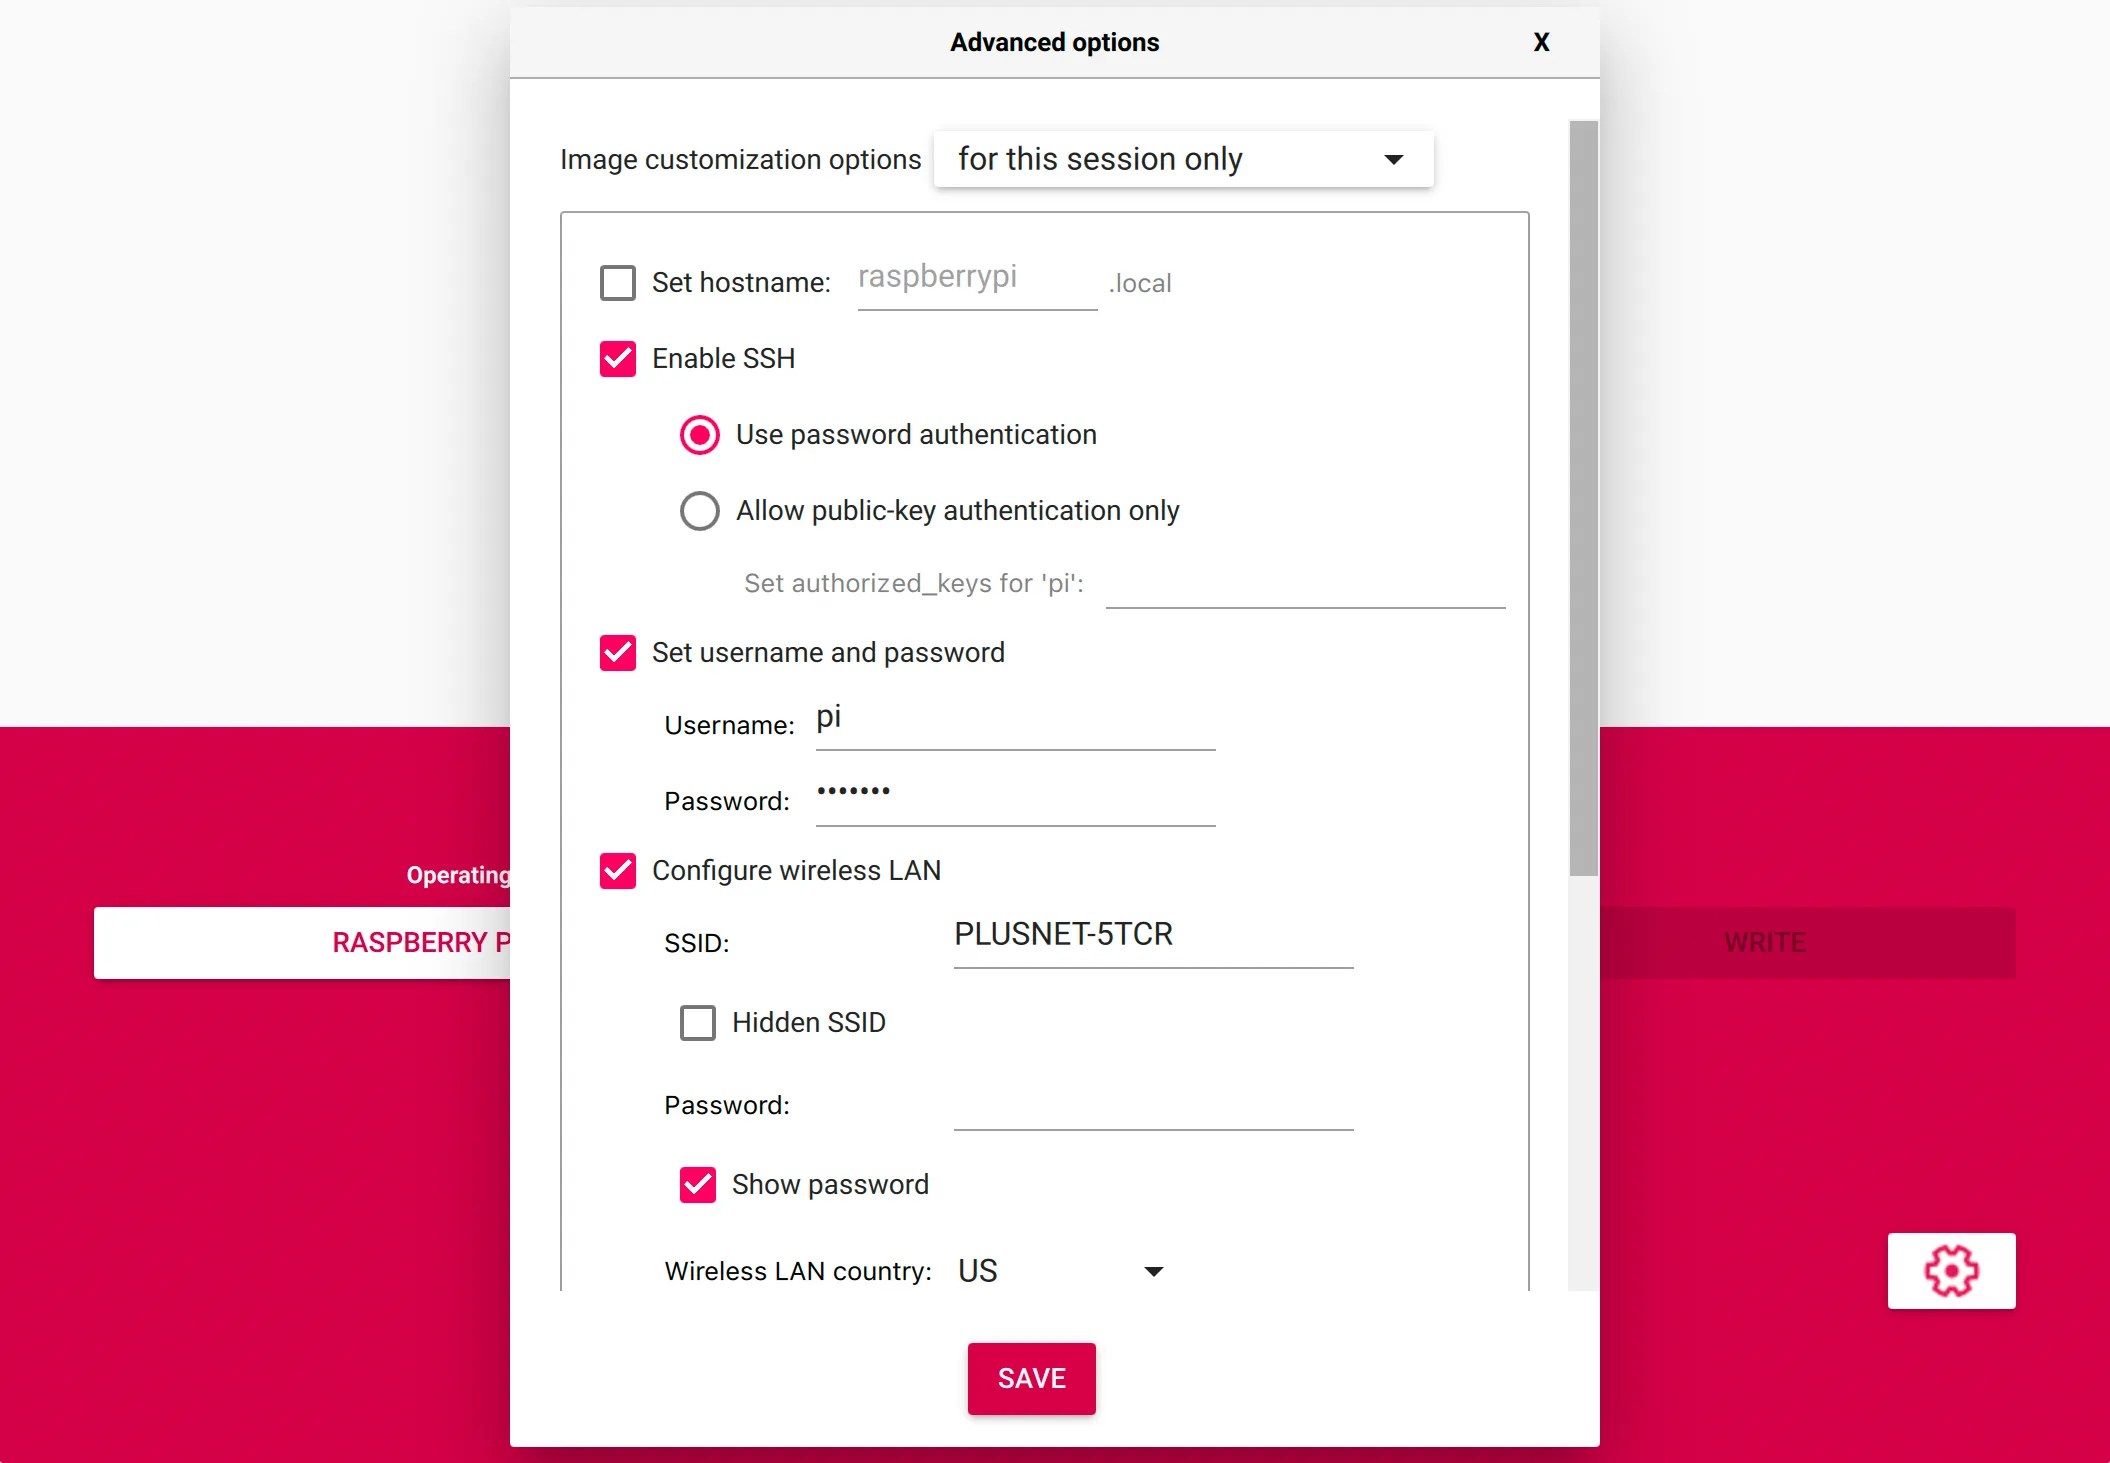
Enabling SSH on Raspberry Pi
To enable SSH on your Raspberry Pi, follow these steps:
- Insert the microSD card with the Raspberry Pi OS into your computer.
- Create an empty file named
ssh(without any extension) in the boot partition of the SD card. - Eject the SD card and insert it back into your Raspberry Pi.
- Power on the Raspberry Pi and connect it to the same network as your computer.
Connecting to Raspberry Pi via SSH
To connect to your Raspberry Pi via SSH:
- Open a terminal or SSH client on your computer.
- Use the command
ssh pi@raspberrypi.local(replace "raspberrypi.local" with your Pi's IP address if necessary). - Enter the default password ("raspberry") when prompted.
Downloading and Installing SSH Clients
SSH clients are essential tools for connecting to your Raspberry Pi remotely. Popular SSH clients include:
Read also:Is Michael Boulos Muslim Or Christian Unraveling The Truth About His Religious Beliefs
- PuTTY: A lightweight and easy-to-use SSH client for Windows.
- OpenSSH: A built-in SSH client available on macOS and Linux systems.
- MobaXterm: A feature-rich SSH client with additional tools for remote management.
Configuring SSH for Secure Access
To enhance the security of your SSH setup:
- Change the default password for the "pi" user.
- Disable password authentication and use SSH keys for authentication.
- Restrict SSH access to specific IP addresses using firewall rules.
Managing IoT Platforms Remotely
With SSH enabled, you can remotely manage your IoT platform by:
- Running scripts to automate tasks.
- Monitoring system performance using tools like
htop. - Updating software and firmware securely.
Best Practices for SSH Security
Follow these best practices to secure your SSH setup:
- Regularly update your Raspberry Pi OS to patch vulnerabilities.
- Use strong, unique passwords or SSH key pairs for authentication.
- Enable two-factor authentication (2FA) for an additional layer of security.
Troubleshooting Common SSH Issues
Common SSH issues and their solutions include:
- Connection Refused: Ensure SSH is enabled and the Raspberry Pi is connected to the network.
- Authentication Failed: Double-check your username, password, or SSH key.
- Slow Connection: Optimize network settings or use a wired connection for better performance.
Advanced SSH Features for IoT
Explore advanced SSH features such as:
- Port forwarding for secure data transfer.
- Tunneling to bypass firewalls and access restricted services.
- Using SSH agents to manage multiple SSH keys efficiently.
Conclusion
In this comprehensive guide, we’ve explored how to download, install, and configure SSH on your Raspberry Pi for remote IoT platform management. From enabling SSH to leveraging advanced features, you now have the tools and knowledge to take full control of your IoT devices securely and efficiently.
Take the next step by experimenting with SSH in your IoT projects. Share your experiences in the comments below, or explore more articles on our site to deepen your understanding of IoT and Raspberry Pi technologies.