Are you looking for a reliable way to manage your IoT devices remotely using SSH on a Raspberry Pi? You've come to the right place. In today's interconnected world, the Internet of Things (IoT) plays a vital role in automating tasks, collecting data, and improving efficiency. One of the most popular platforms for IoT projects is the Raspberry Pi, a versatile and affordable single-board computer. By leveraging SSH (Secure Shell), you can securely access and control your Raspberry Pi remotely, making it an indispensable tool for IoT enthusiasts and professionals alike.
SSH Remote IoT Raspberry Pi Download Free is not just a buzzword; it’s a practical solution for managing IoT devices without being physically present. Whether you are a hobbyist working on a home automation project or a developer building a large-scale IoT infrastructure, mastering SSH on Raspberry Pi is essential. In this article, we will explore everything you need to know about setting up SSH on your Raspberry Pi, downloading the necessary tools, and managing your IoT devices securely and efficiently.
This guide is designed to provide you with expert advice, actionable steps, and trustworthy resources to help you succeed. We will cover the technical aspects of SSH, its role in IoT, and how you can implement it on your Raspberry Pi. By the end of this article, you will have a clear understanding of how to use SSH for remote IoT management and where to find free tools to get started.
Read also:Shane Myler A Comprehensive Guide To The Rising Star
Table of Contents
Introduction to SSH and IoT
SSH, or Secure Shell, is a cryptographic network protocol used for secure communication over an unsecured network. It provides a secure channel for remote access to devices, making it an ideal choice for managing IoT devices. IoT, or the Internet of Things, refers to a network of interconnected devices that communicate and exchange data. Together, SSH and IoT form a powerful combination that enables secure and efficient remote management of devices.
Using SSH for IoT projects offers several advantages. First, it ensures secure communication between devices, protecting sensitive data from unauthorized access. Second, it allows you to remotely configure and troubleshoot devices without needing physical access. Finally, SSH is lightweight and compatible with a wide range of operating systems, making it a versatile solution for IoT applications.
How SSH Works in IoT
SSH operates by encrypting data transmitted between devices, ensuring confidentiality and integrity. When you connect to a Raspberry Pi using SSH, the protocol establishes a secure connection, authenticates the user, and encrypts all communication. This process is particularly important in IoT, where devices often handle sensitive data such as personal information, health metrics, or industrial control signals.
Why Raspberry Pi for IoT?
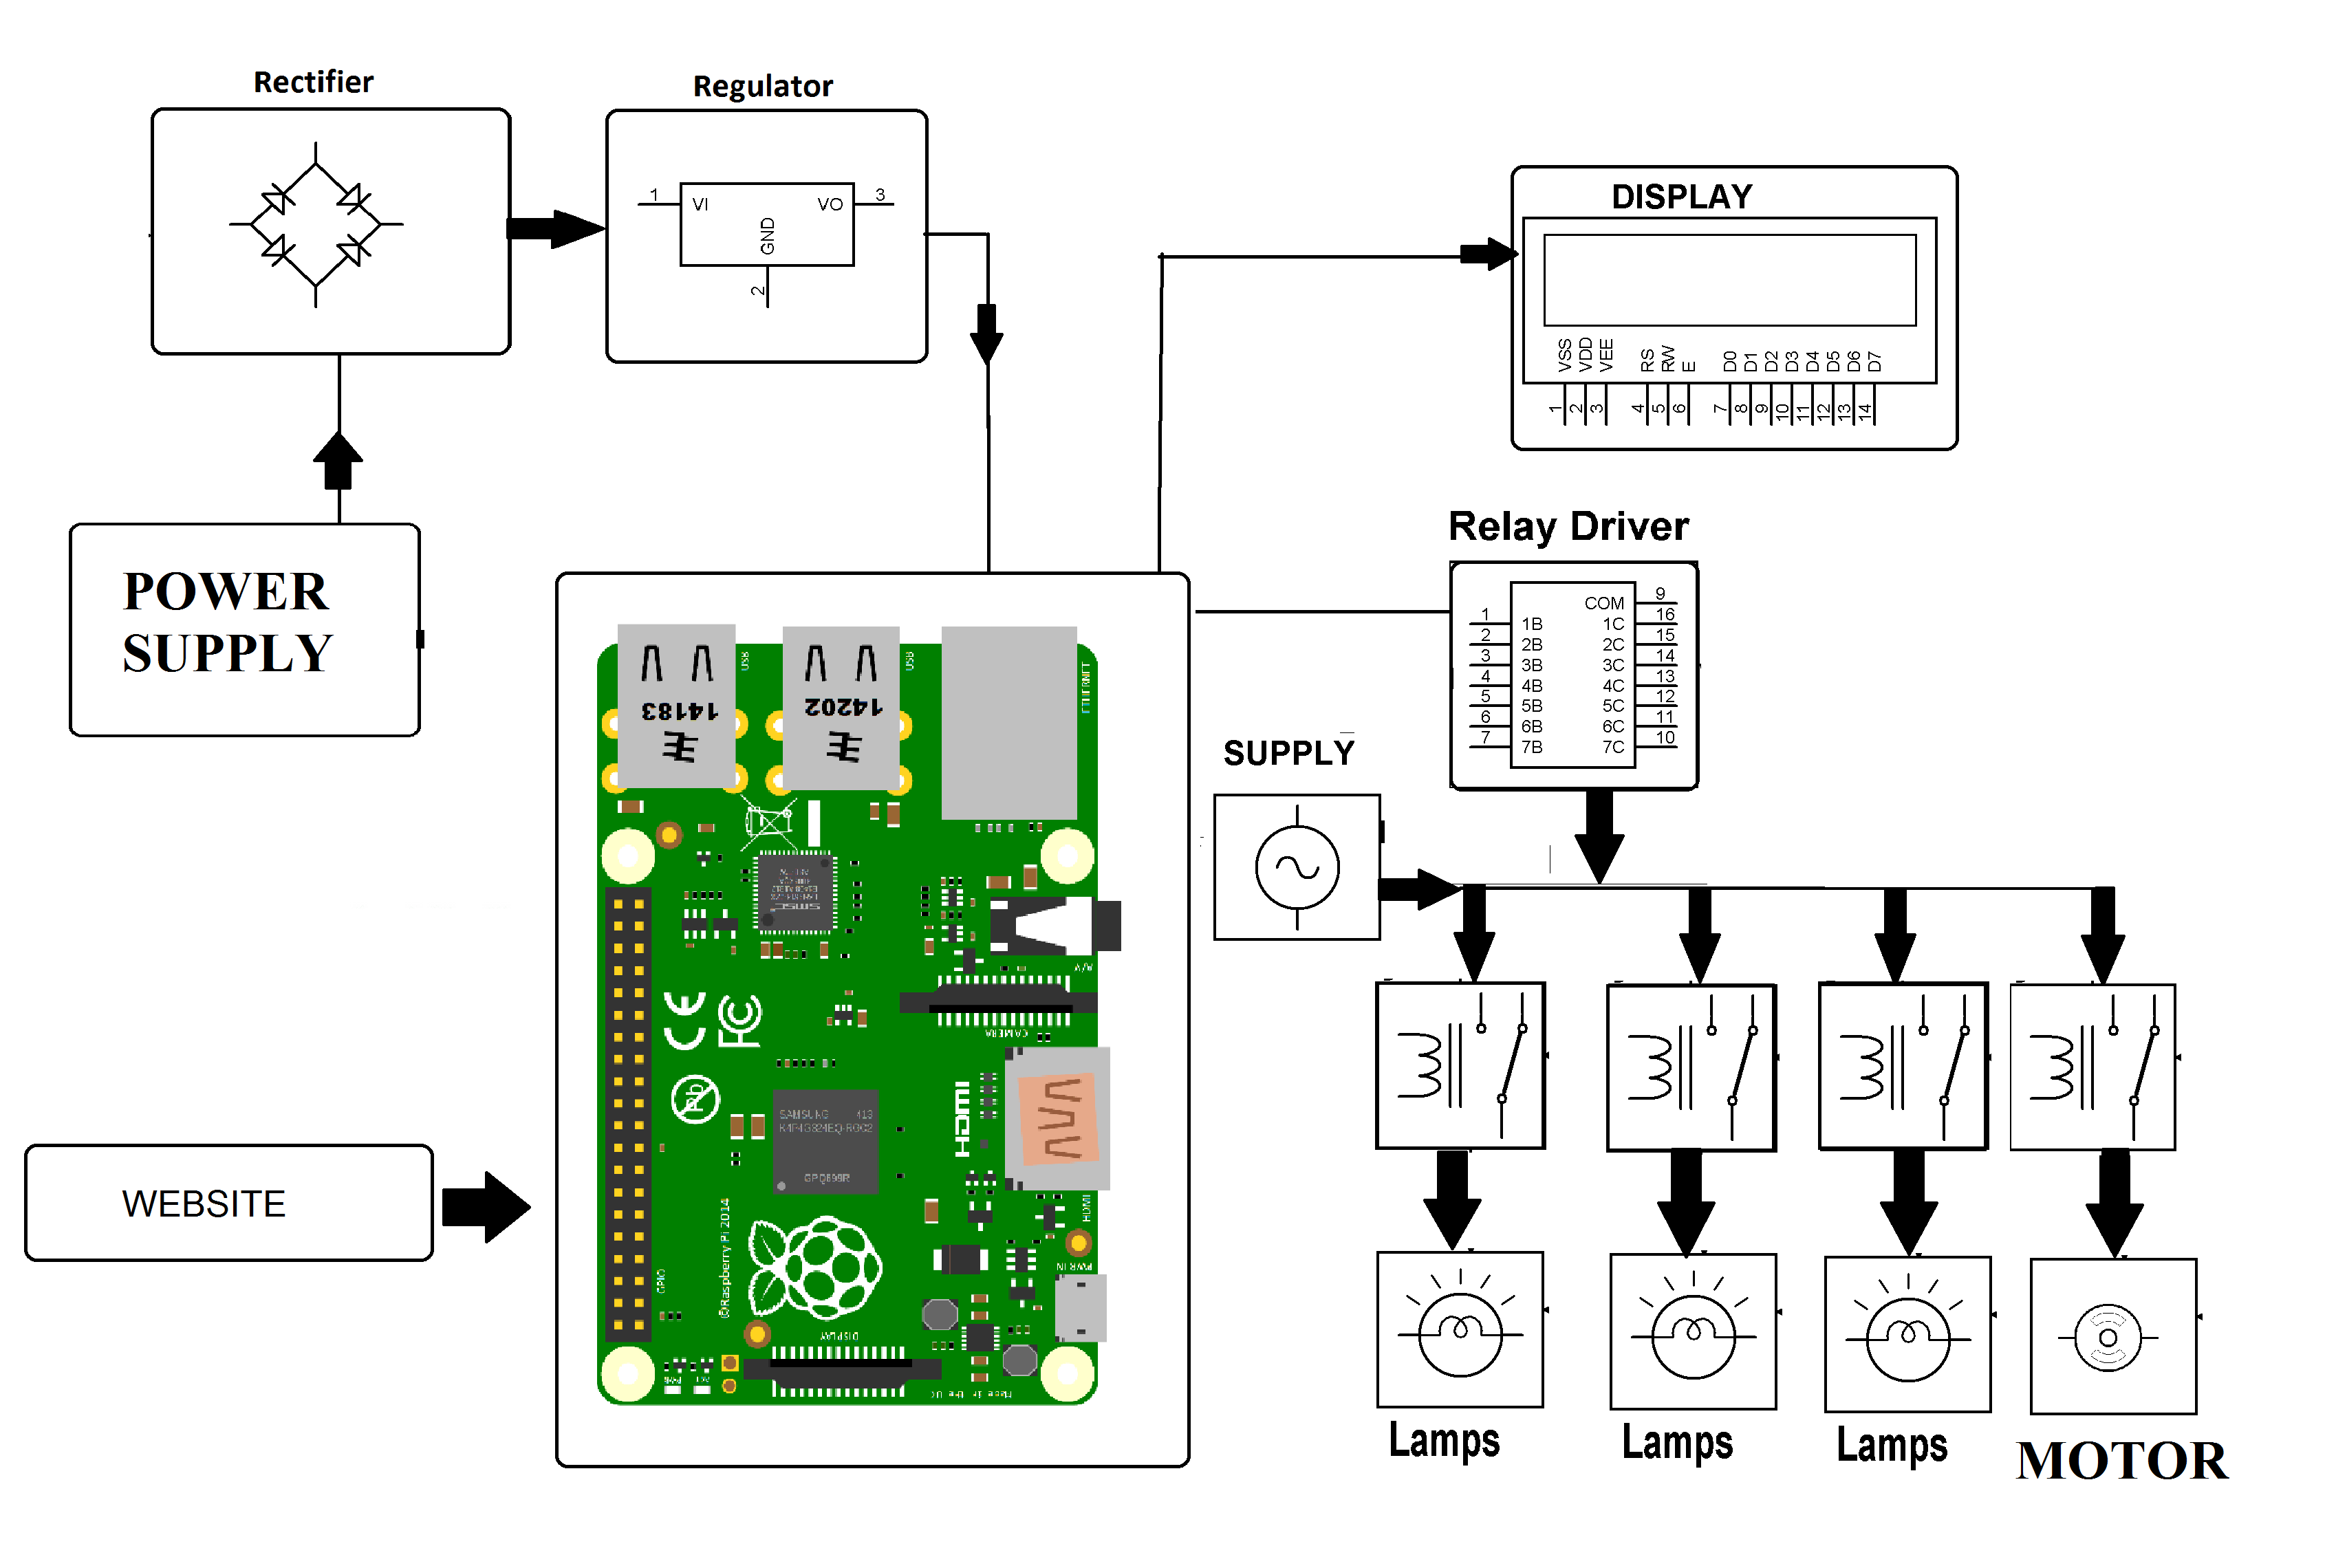
The Raspberry Pi is one of the most popular platforms for IoT projects due to its affordability, versatility, and community support. Whether you're building a smart home system, a weather station, or an industrial monitoring solution, the Raspberry Pi offers the flexibility and power needed to bring your ideas to life.
Key Features of Raspberry Pi for IoT
- Compact Size: The Raspberry Pi is small and portable, making it easy to integrate into various IoT setups.
- Low Power Consumption: It is energy-efficient, which is crucial for battery-powered IoT devices.
- Rich GPIO Pins: The General Purpose Input/Output (GPIO) pins allow you to connect sensors, actuators, and other peripherals.
- Support for Multiple Operating Systems: The Raspberry Pi supports various operating systems, including Raspbian, Ubuntu, and others, giving you flexibility in software development.
Setting Up SSH on Raspberry Pi
To get started with SSH Remote IoT Raspberry Pi Download Free, you need to enable SSH on your Raspberry Pi. Here’s a step-by-step guide to help you set it up:
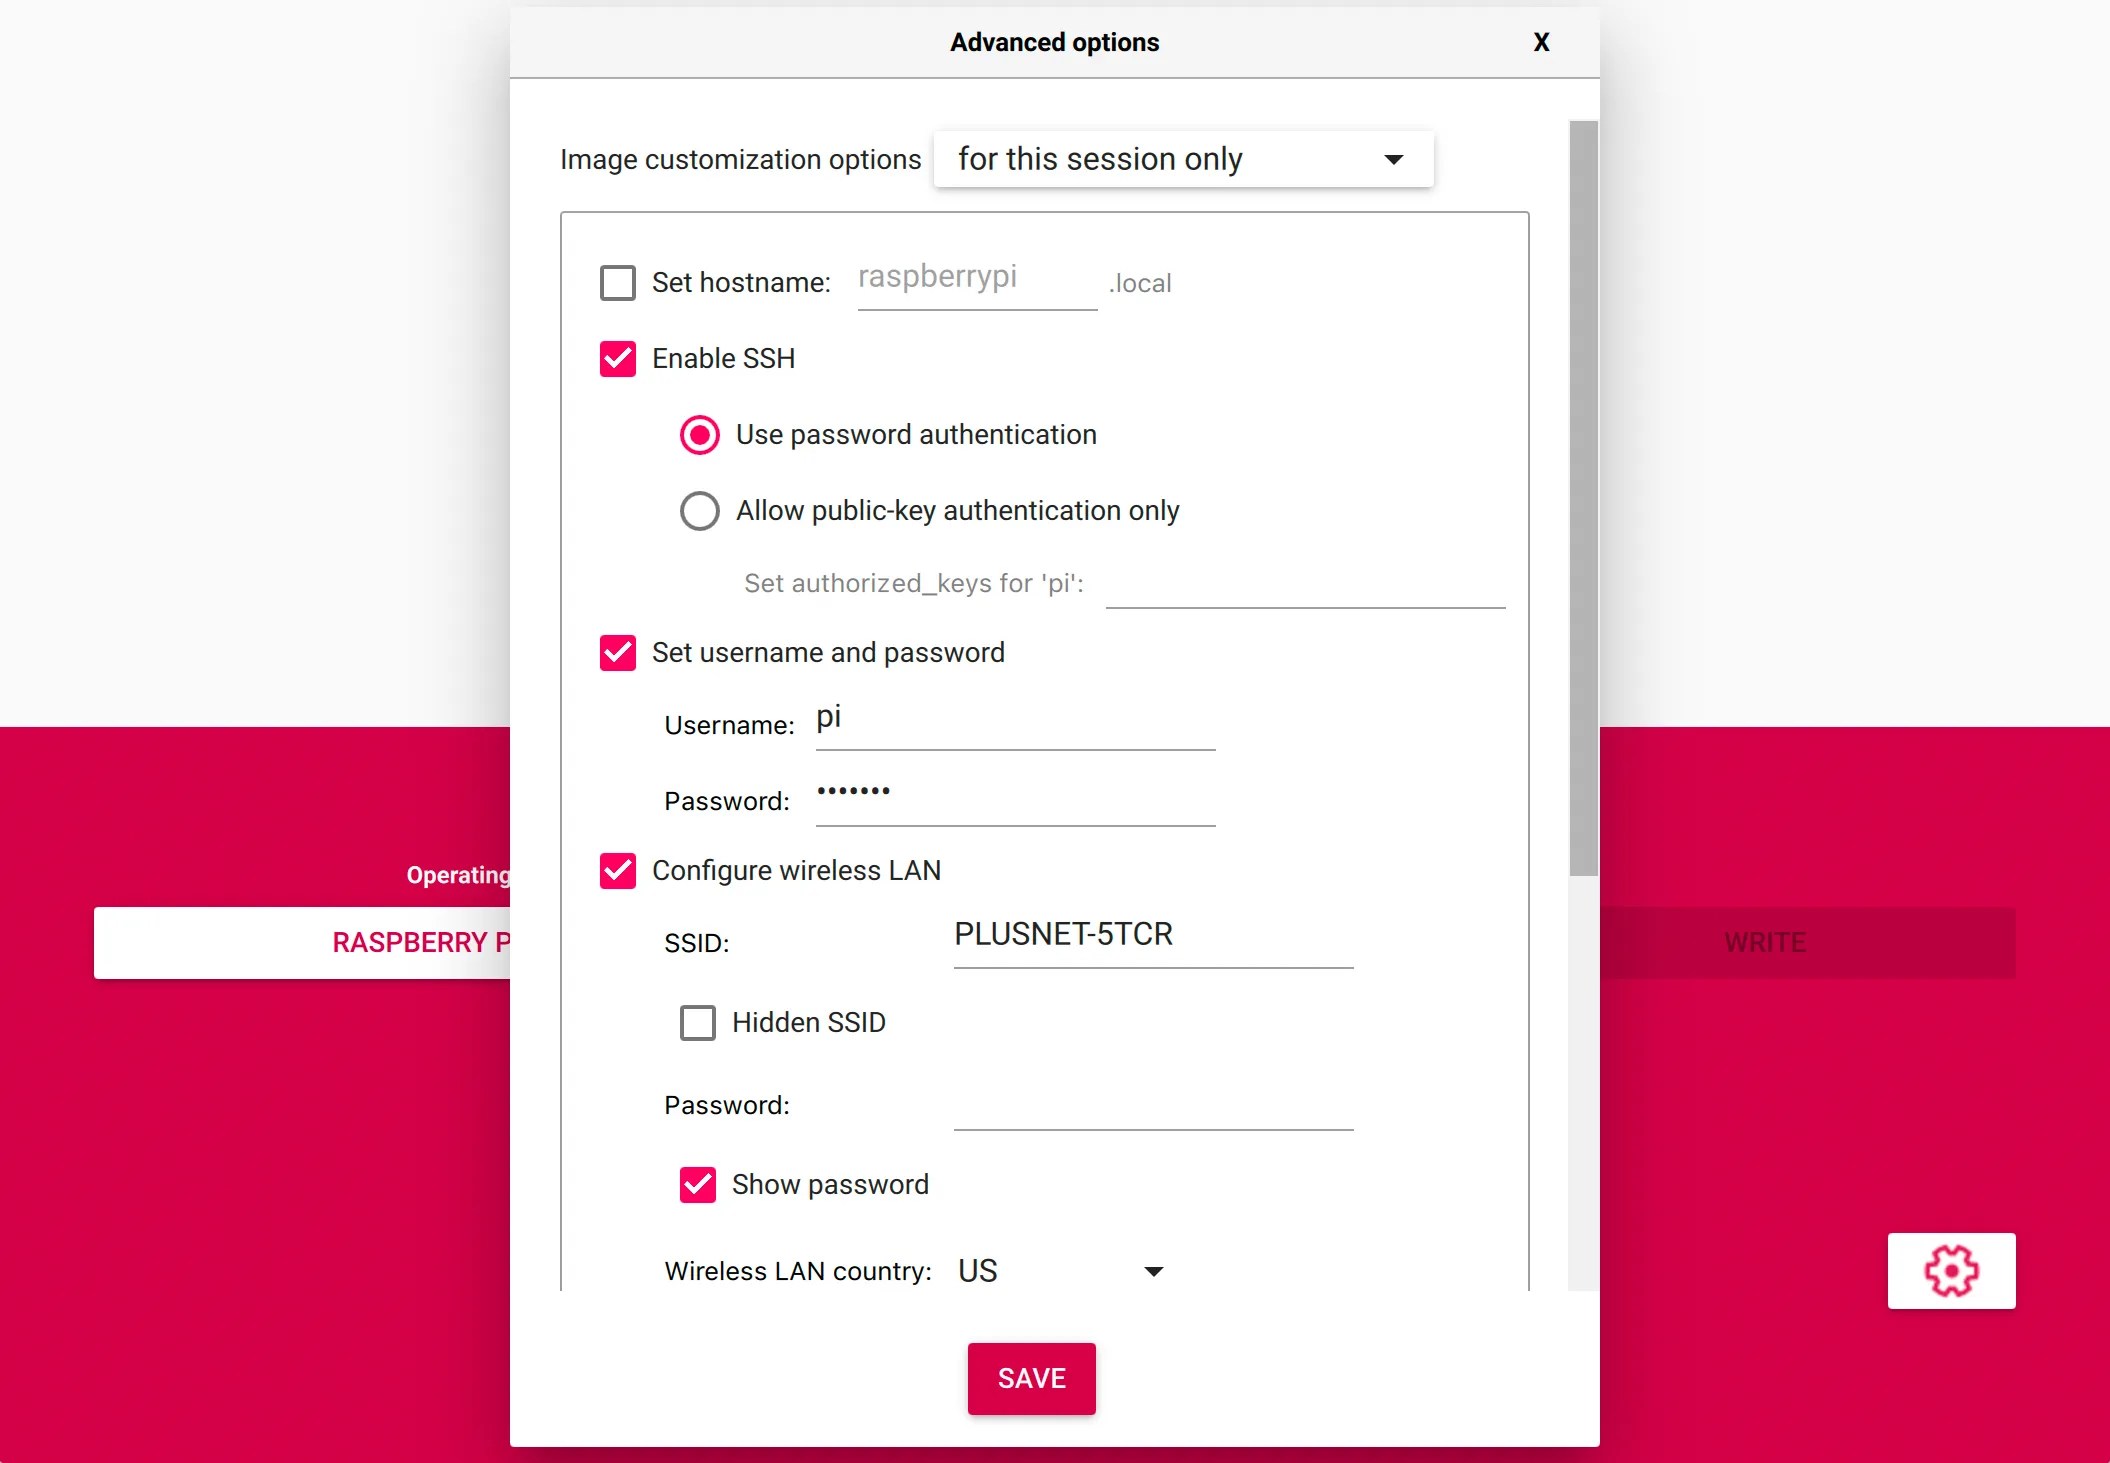
Step 1: Enable SSH on Raspberry Pi
By default, SSH is disabled on Raspberry Pi for security reasons. To enable it, follow these steps:
Read also:Briialexia Unveiling The Rising Star Of Digital Creativity
- Insert your Raspberry Pi's SD card into your computer.
- Create an empty file named
ssh(without any extension) in the boot partition of the SD card. - Eject the SD card and insert it back into your Raspberry Pi.
- Power on the Raspberry Pi, and SSH will be enabled automatically.
Step 2: Find Your Raspberry Pi's IP Address
To connect to your Raspberry Pi via SSH, you need its IP address. You can find it using your router's admin interface or by running the following command on the Raspberry Pi:
hostname -I
Step 3: Connect Using an SSH Client
Once SSH is enabled and you have the IP address, you can connect to your Raspberry Pi using an SSH client such as PuTTY (Windows) or the terminal (macOS/Linux). Use the following command:
ssh pi@
Downloading Free SSH Tools
There are several free SSH tools available that you can use to manage your Raspberry Pi remotely. Below are some of the most popular options:
PuTTY
PuTTY is a widely used SSH client for Windows. It is lightweight, easy to use, and completely free. You can download it from the official website: PuTTY.
OpenSSH
OpenSSH is a free and open-source SSH tool that comes pre-installed on most Linux and macOS systems. If it’s not already installed, you can download it from the official OpenSSH website: OpenSSH.
MobaXterm
MobaXterm is another powerful SSH client for Windows that offers additional features such as file transfer and terminal multiplexing. You can download the free version from their website: MobaXterm.
Managing IoT Devices Remotely
Once SSH is set up, you can use it to manage your IoT devices remotely. This includes tasks such as installing software, configuring settings, and monitoring device performance. Below are some common use cases:
Installing and Updating Software
You can use SSH to install and update software on your Raspberry Pi. For example, to update the system, run:
sudo apt update && sudo apt upgrade
Configuring IoT Sensors
SSH allows you to configure IoT sensors connected to your Raspberry Pi. For instance, you can write Python scripts to read sensor data and send it to a cloud server.
Best Practices for SSH Security
While SSH is secure by design, there are additional steps you can take to enhance its security:
- Change the Default Password: Always change the default password of your Raspberry Pi to prevent unauthorized access.
- Use Key-Based Authentication: Instead of passwords, use SSH keys for authentication, which are more secure.
- Disable Root Login: Prevent root login to reduce the risk of unauthorized access.
- Use a Firewall: Configure a firewall to restrict access to your Raspberry Pi.
Troubleshooting Common Issues
While setting up SSH, you may encounter some common issues. Below are solutions to a few of them:
Connection Refused
If you receive a "Connection Refused" error, ensure that SSH is enabled on your Raspberry Pi and that the IP address is correct.
Permission Denied
If you get a "Permission Denied" error, double-check your username and password. If you’re using key-based authentication, ensure that the key is correctly configured.
Real-World Applications of SSH in IoT
SSH is widely used in various IoT applications, including:
- Smart Homes: Remotely control smart devices such as lights, thermostats, and security cameras.
- Industrial Automation: Monitor and control machinery and processes in real-time.
- Healthcare: Manage medical devices and collect patient data securely.
Future of SSH and IoT
As IoT continues to grow, the role of SSH in securing and managing devices will become even more critical. With advancements in encryption technologies and the increasing adoption of edge computing, SSH will remain a cornerstone of IoT security.
Conclusion
In this article, we explored the topic of SSH Remote IoT Raspberry Pi Download Free, covering everything from setting up SSH to managing IoT devices securely. We discussed the benefits of using SSH, the advantages of Raspberry Pi for IoT, and the best practices for ensuring security. By following the steps outlined in this guide, you can harness the power of SSH to build and manage your IoT projects with confidence.
If you found this article helpful, feel free to leave a comment, share it with others, or explore more articles on our site. Your feedback is valuable, and we’re always here to help you succeed in your IoT journey!